


Introduction
The Prizm Content Connect viewer can be utilized in a variety of ways in SharePoint, and this tutorial describes how to create a Web Part Page that will allow you to scroll through your documents and see the Prizm Content Connect Viewer load the content immediately on the same page.
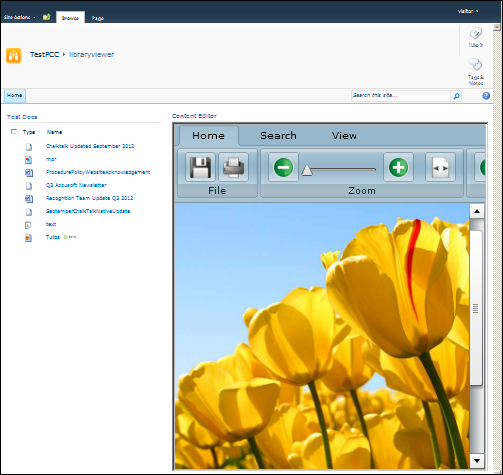
After following the steps below, you should have an ASPX page that looks similar to the following and allows for clicking on each document and viewing a preview of the document on the same page:
Determine Where to Add the Web Part Page
You will be adding a web part page to a document library. The steps below outline how to create a document library for web part pages and add a web part page to it.
 If you prefer to use an existing document library:
- Select Site Actions.
- Select More Options…
- Filter by Page.
- Create a Web Part Page, then skip to Step 2 below, where you will need to specify the document library where you want the Web Part Page to be saved.
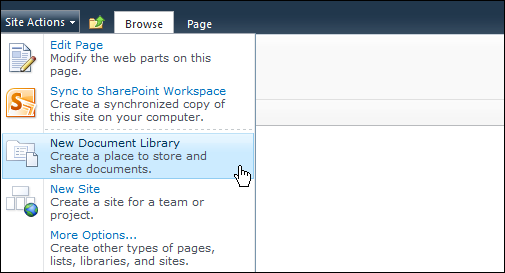
- Open your SharePoint site and select Site Actions. Select New Document Library:
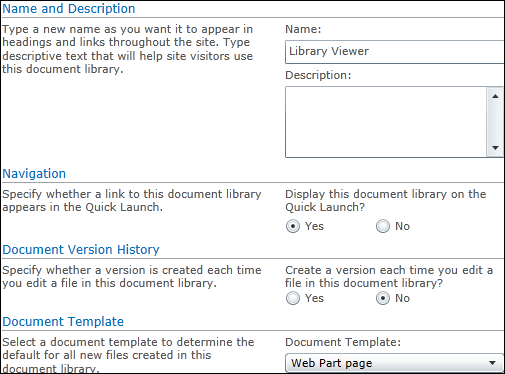
- The Create dialog is displayed. Specify the name of the document library and choose Web Part page for the Document Template. Click Create:
- The new document library is displayed. Click New Document on the Documents tab under Library Tools:

Add the Web Part Page
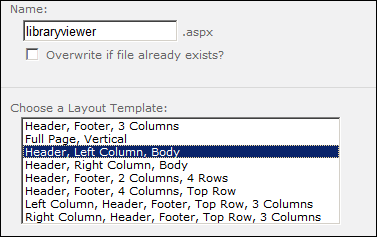
- Specify a Name and Layout Template for the Web Part Page. Click Create:
Add Web Parts to the Web Part Page
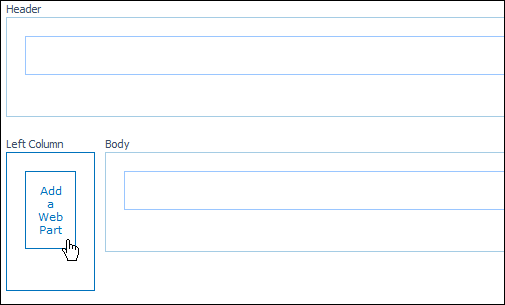
After adding the Web Part Page, the Web Part Page is displayed. Follow the steps below to add a Document Library Web Part and a Web Part for the Prizm Content Connect Viewer to the Web Part Page:
- Click Add a Web Part in the area you want to display the files in the Document Library:
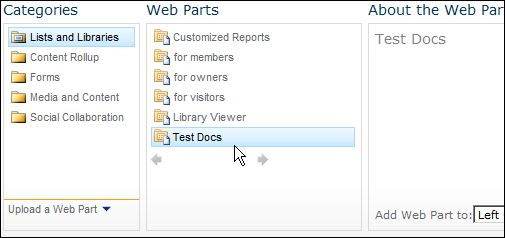
- Select the Lists and Libraries category. Select the Document Library you want to add to the page. Click Add:
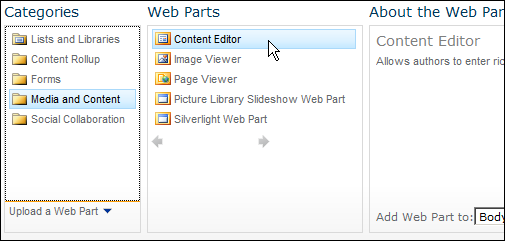
- You will see the contents of your document library appear in the area you selected. Click Add a Web Part where you would like the Prizm Content Connect Viewer to display:

- Select the Media and Content category. Select the Content Editor Web Part and click Add:
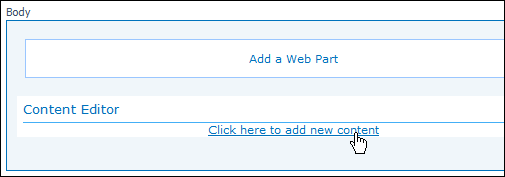
- In the Content Editor Web Part, click the Click here to add new content link:
- Select HTML on the Format Text menu under Editing Tools. Select Edit HTML Source:

- The HTML Source dialog is displayed. Enter the following text and click OK:
HTML Code Copy Code

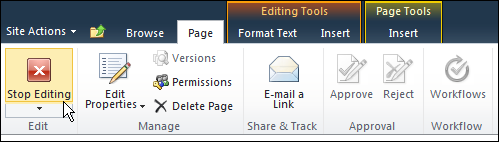
- Click on the Page Ribbon and click Stop Editing:
Edit the Web Part Page in SharePoint Designer
Follow the steps below to edit the Web Part Page in SharePoint Designer to modify the Document Library Web Part links to open in the Prizm Content Connect Viewer Web Part.
 |
SharePoint Designer will not open if you are running a 64-bit browser. You will need to open the Web Part Page in a 32-bit browser. |
|
SharePoint Designer will not work unless SharePoint Client Integration is turned on. See the Working with Client Integration Features topic for steps on how to modify whether SharePoint Client Integration is enabled or not. |
|
SharePoint Designer does not work if the Prizm DRM redirector is activated. See the Enabling the DRM Redirector for a Web Application topic for steps on how to modify whether the Prizm DRM Redirector is activated or not. |
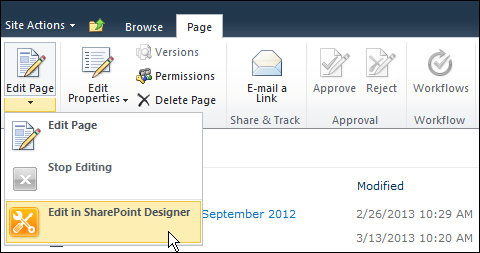
- On the Page Ribbon, pull down the Edit Page menu and select Edit in SharePoint Designer:
- Select the Split view at the lower left hand corner of the page to show both the design and code. Click on a document name so you can see the cursor in front of it:
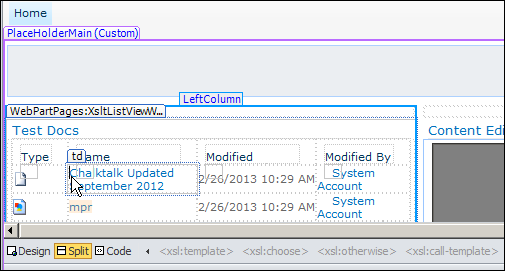
- The Tag Properties should display. If they do not display, you can right-click where the cursor is and select Properties. In the Tag Properties, remove all Events and Attributes except the href attribute. Then locate the code shown highlighted below and change it to the following. Be sure to replace "http://your-site-url" with the URL of your site:
HTML Code

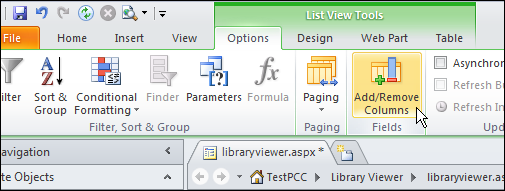
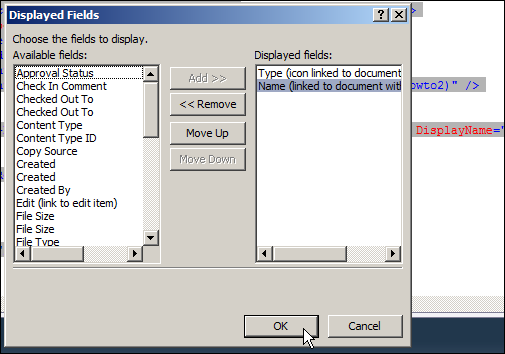
- You can optionally add and remove columns to show only the information you wish to display in the Web Part. Click anywhere in the Web Part and then select Add/Remove Columns from the Options menu under List View Tools:
- The Displayed Fields dialog is displayed. Add or remove fields that you want displayed. At a minimum the Name field must be included. In this example, the Type and Name fields are selected:
Reset Settings
- You can now turn SharePoint Client Integration off again and enable the Prizm DRM Redirector again if you are using it.
- You should now be able to browse to the Web Part Page and click on a document to see it display in the Prizm Content Connect Viewer.